
Add a vendor; record invoices and payments
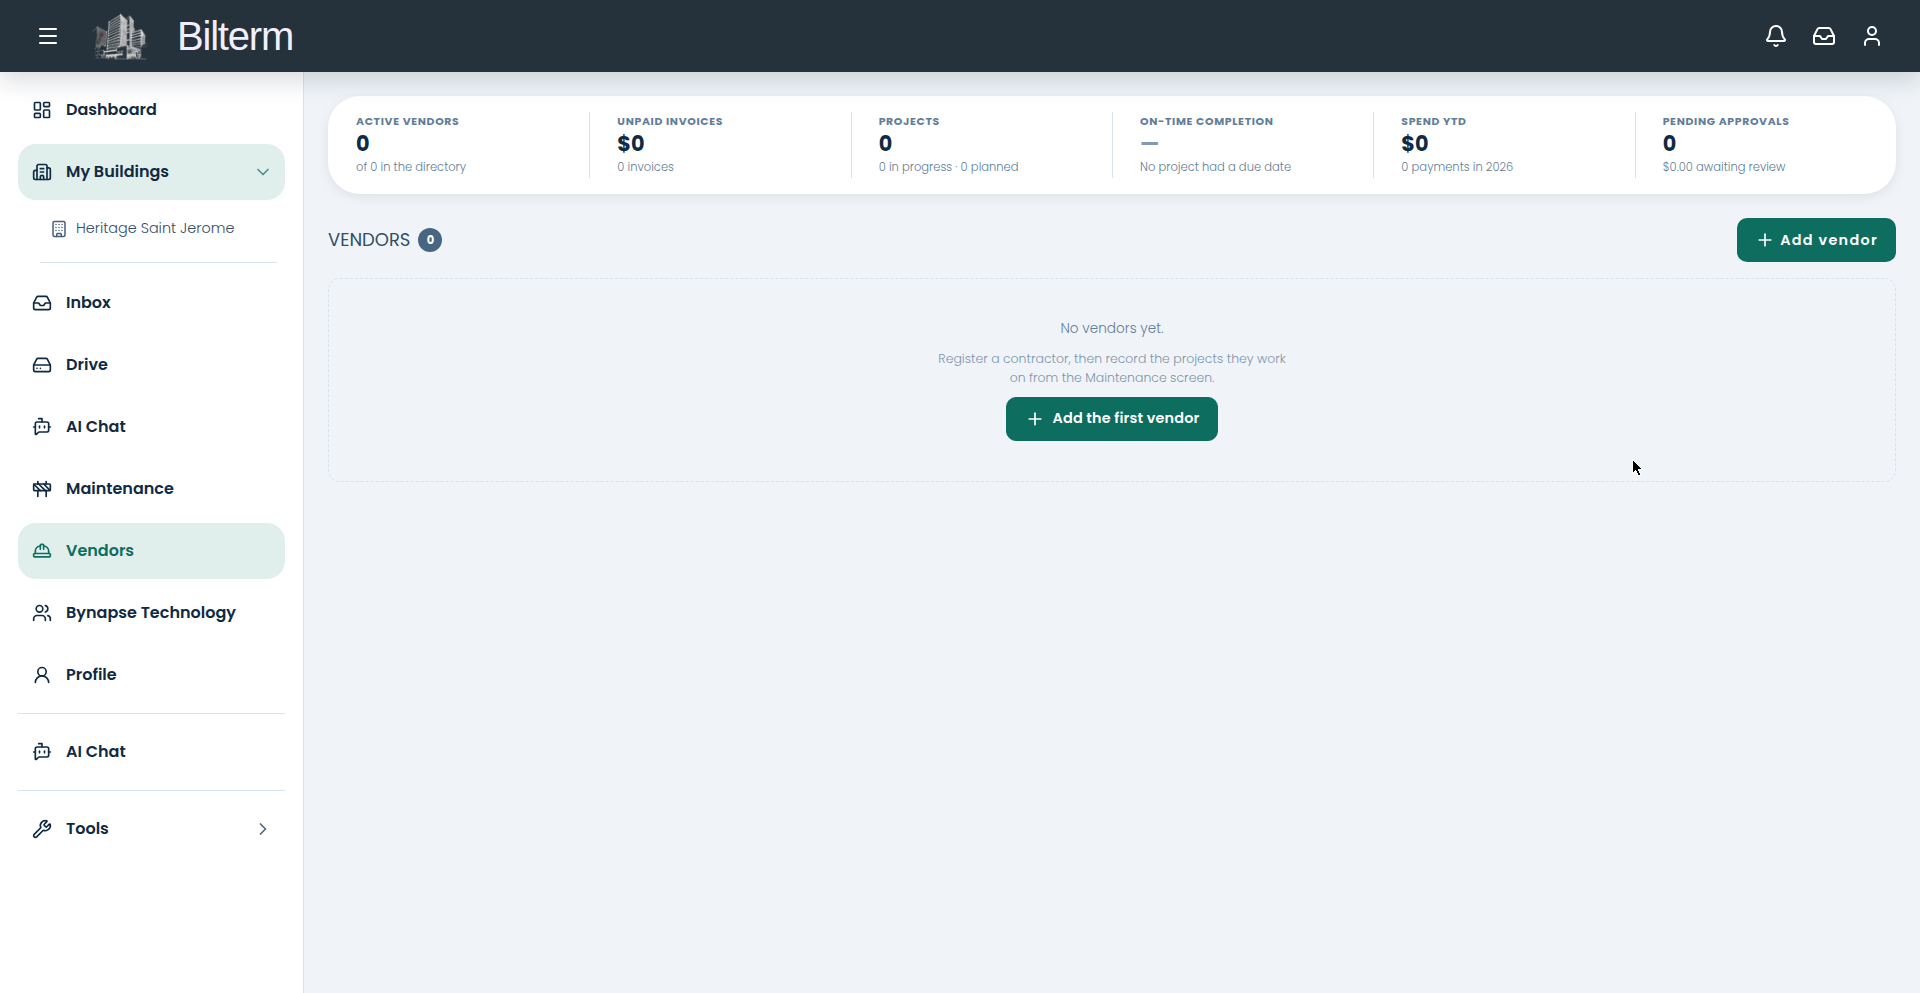
Plumbers, electricians, snow removal, the handyman who does everything — they all live in Vendors, with their invoices and your payments tracked against them.
- Go to Vendors and click Add vendor (or “Add the first vendor” if the list is empty).
- Under Business: enter the Business name.
- Under Primary Contact: First name and Last name (required), plus Email and Phone.
- Under Company: Licence/permit number, Tax ID / business registration, and Internal notes — the stuff you’d otherwise keep in your head (“only available Tuesdays”, “bring exact change”).
- Save. The vendor gets a detail page with their contact info, categories, and history.
- When the bill arrives, record a vendor invoice on the vendor record. When you pay it, record a vendor payment. The Vendors dashboard tracks Unpaid Invoices, Pending Approvals, and Spend YTD across all vendors.
Tips
- Fill in the licence and tax ID when you add the vendor, not at tax time. You’ll need them for your accountant anyway.
- The On-Time Completion metric only means something once projects have due dates — set them on the project, and the vendor scorecard builds itself.
- Vendors get a limited portal of their own. Share project documents and photos with them through Drive rather than texting PDFs back and forth.
Leave a Reply
Want to join the discussion?Feel free to contribute!