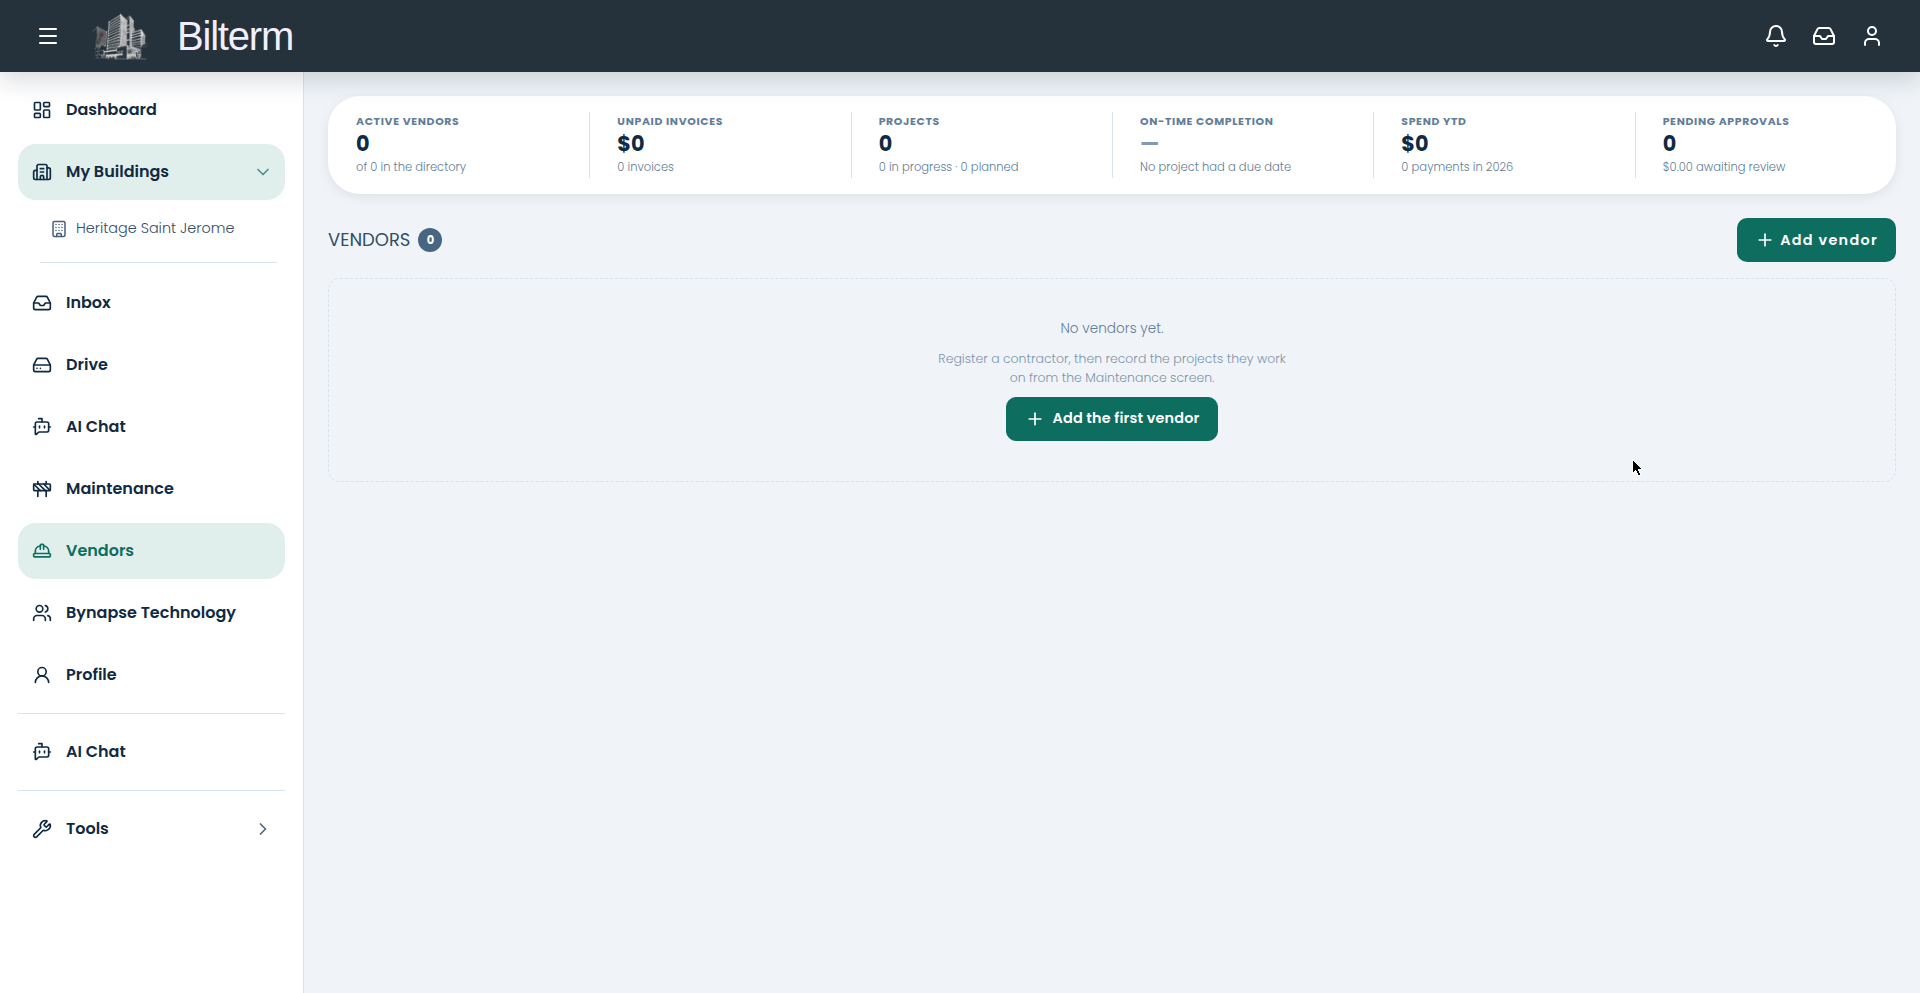
Use the mobile app (biometric login, offline)
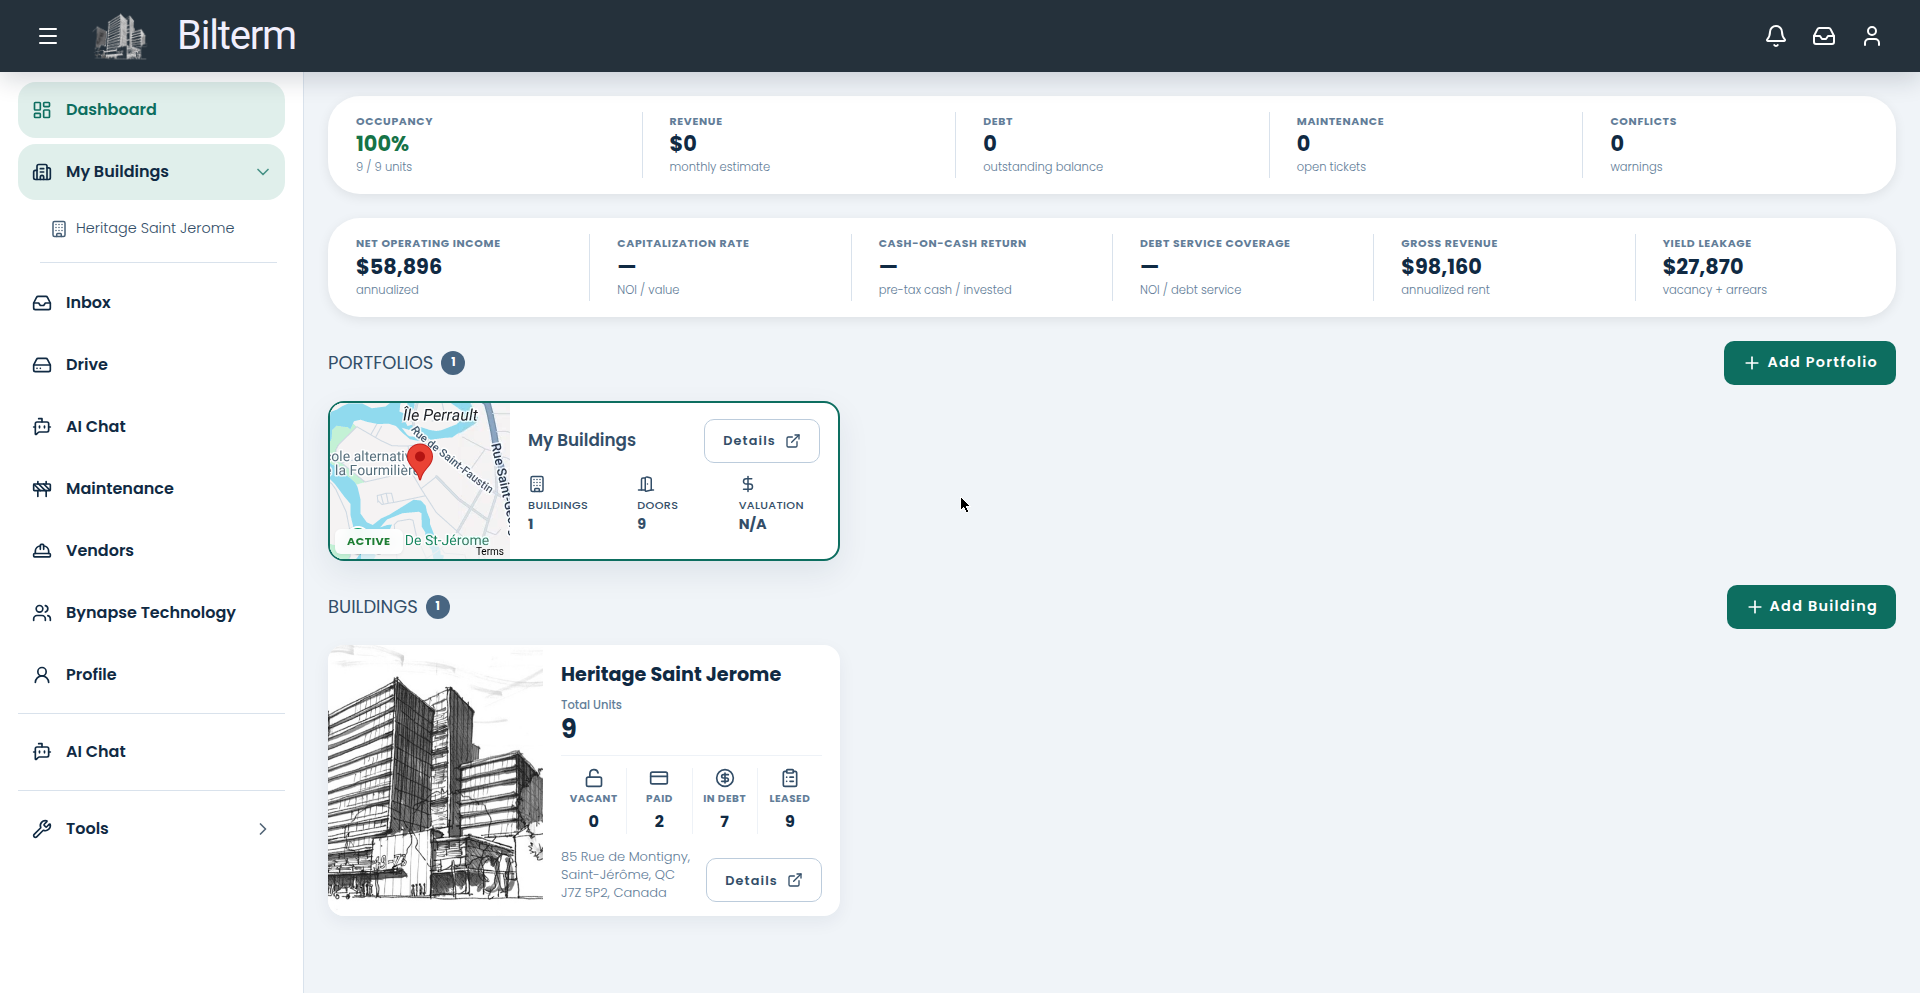
Investor KPIs on the Bilterm dashboard.

Half of property management happens away from a desk. Bilterm’s mobile apps (native Android and iOS) plus the offline-capable PWA put the portfolio in your pocket.

  1. Install the app on your phone and sign in with your Bilterm account (email/password, magic link, or Google — same account as the portal).
  2. For fingerprint sign-in: go to Profile → Security → Biometric Authentication and click Register. Next time, your fingerprint opens the app.
  3. Enable push notifications when prompted — that’s how time-sensitive items (maintenance updates, messages) reach you.
  4. The PWA keeps working offline for cached content; changes sync when you’re back online.

On the go, you can

  • Check the dashboard KPIs: occupancy, outstanding debt, open maintenance.
  • Read the rent ledger per building — billed, collected, outstanding.
  • Follow maintenance requests with live status updates and photos.
  • Reply in the unified inbox from the parking lot.

Tips

  • Also in Profile → Security: enable Two-Factor Authentication and use Change Password periodically. A phone with building data on it deserves both.
  • Your Preferred Language (English, French, Romanian) follows you to every device you sign in from — set it once on the profile.
  • The mobile app is a companion to the portal, not a replacement: heavy work like underwriting a prospect or reorganizing Drive is still nicer on a big screen.
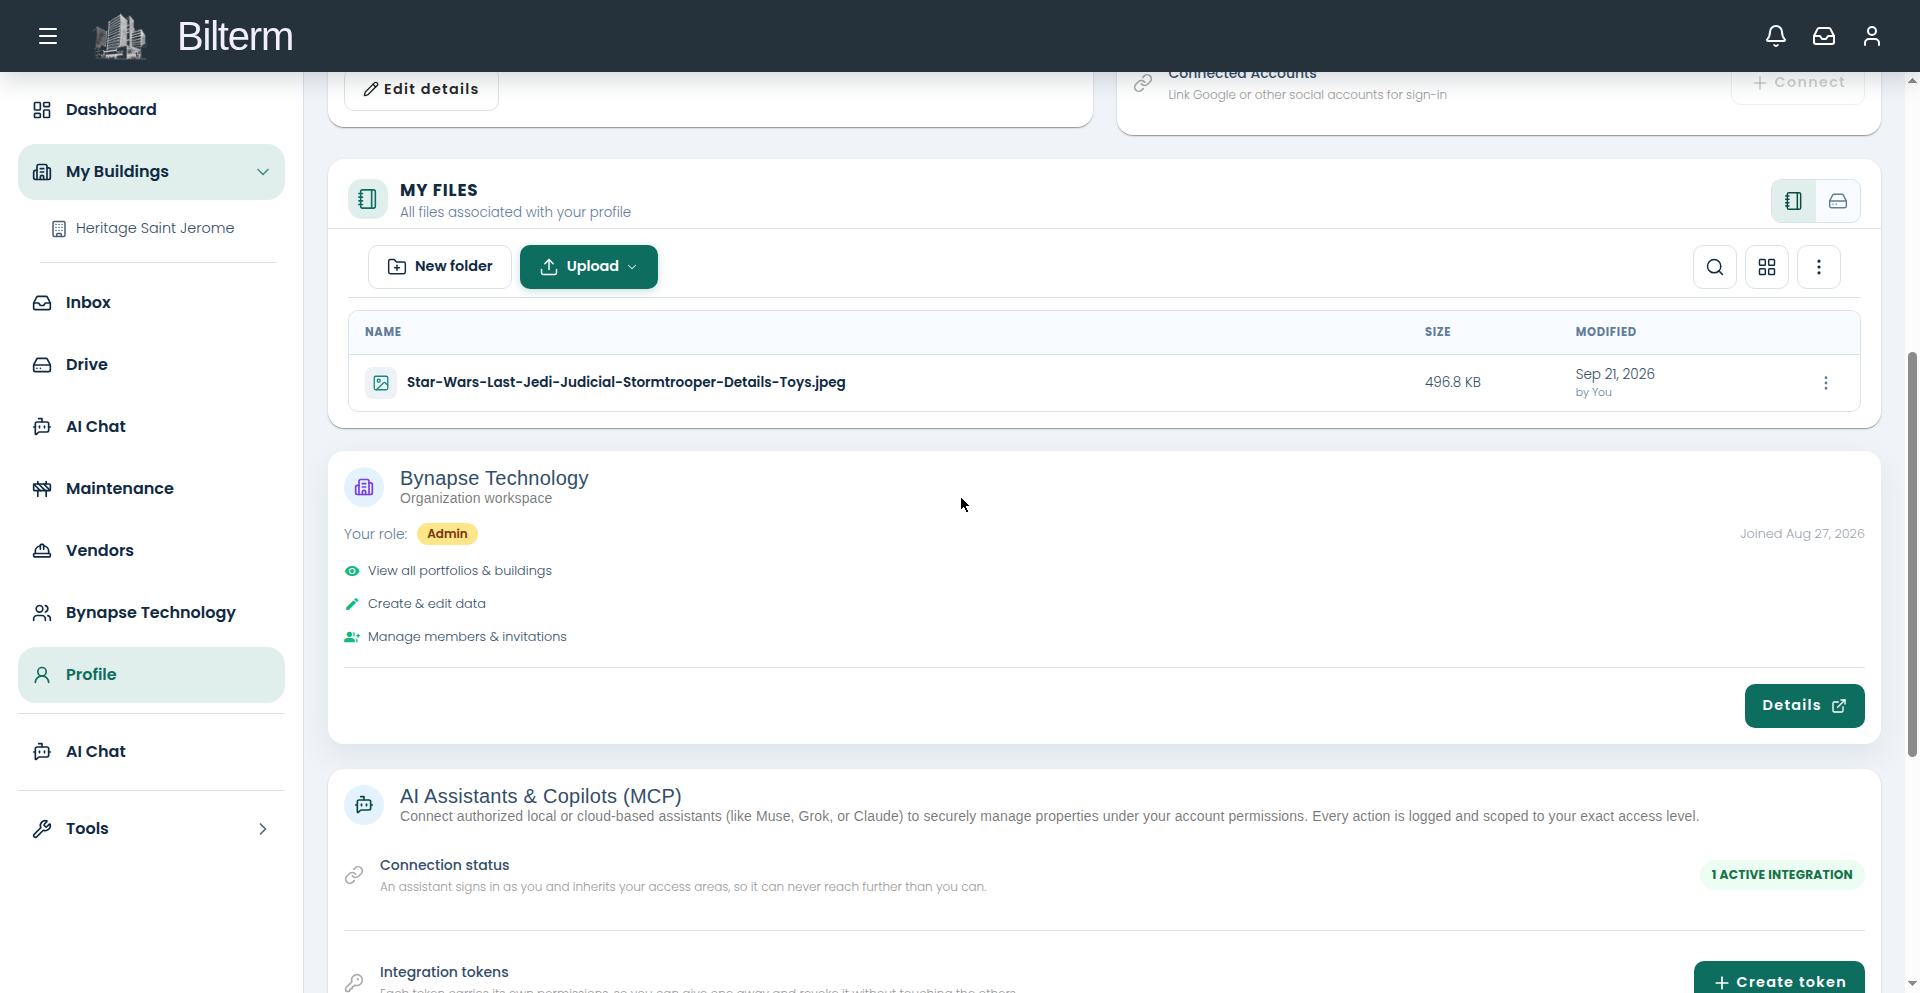
Connect your own AI agent (MCP)

Bilterm MCP integration tokens on the Profile page

Beyond the built-in assistant, Bilterm lets you connect your own AI agent — Claude, Grok, or any MCP-capable tool — directly to your portfolio data via the Model Context Protocol.

  1. Go to Profile → AI Assistants & Copilots (“Connect authorized local or cloud-based assistants to securely manage properties under your account permissions”).
  2. Click Create token. Name it after the integration (e.g. “Claude-desktop-read”), choose read-only or read-write scopes, and set an expiry. The token is shown once — copy it immediately.
  3. Connect your agent:
    • Local: run the bilterm-mcp server on your machine with the token. The Profile page shows setup tabs for Claude Code, Grok, and Others.
    • Hosted: point a cloud agent at the hosted MCP endpoint with the token as the bearer credential.
  4. Start with the whoami tool — it reveals exactly what the token can access.
  5. Ask away: list properties, leases, tenants, rent payments, files, inbox conversations.

The 8 tools

whoami, list_properties, list_leases, get_lease, list_tenants, list_rent_payments, list_files, list_inbox_conversations.

Safety model

  • The server holds zero permission logic — row-level security in the database decides every row. A restricted token returns empty results, not errors.
  • Revoke a token on your Profile page and the agent’s access stops immediately.
  • Every call is logged under Profile → Agent activity: which token, which tool, when.

Tips

  • One token per agent. If something looks off, you revoke one integration, not everything.
  • Start agents on read-only scopes. Grant write only when the agent needs to act, not just report.
  • The tokens table shows each token’s prefix, expiry, last-used date, and scopes — review it the way you’d review who has keys to your buildings.

Ask the AI assistant (and feed it documents)

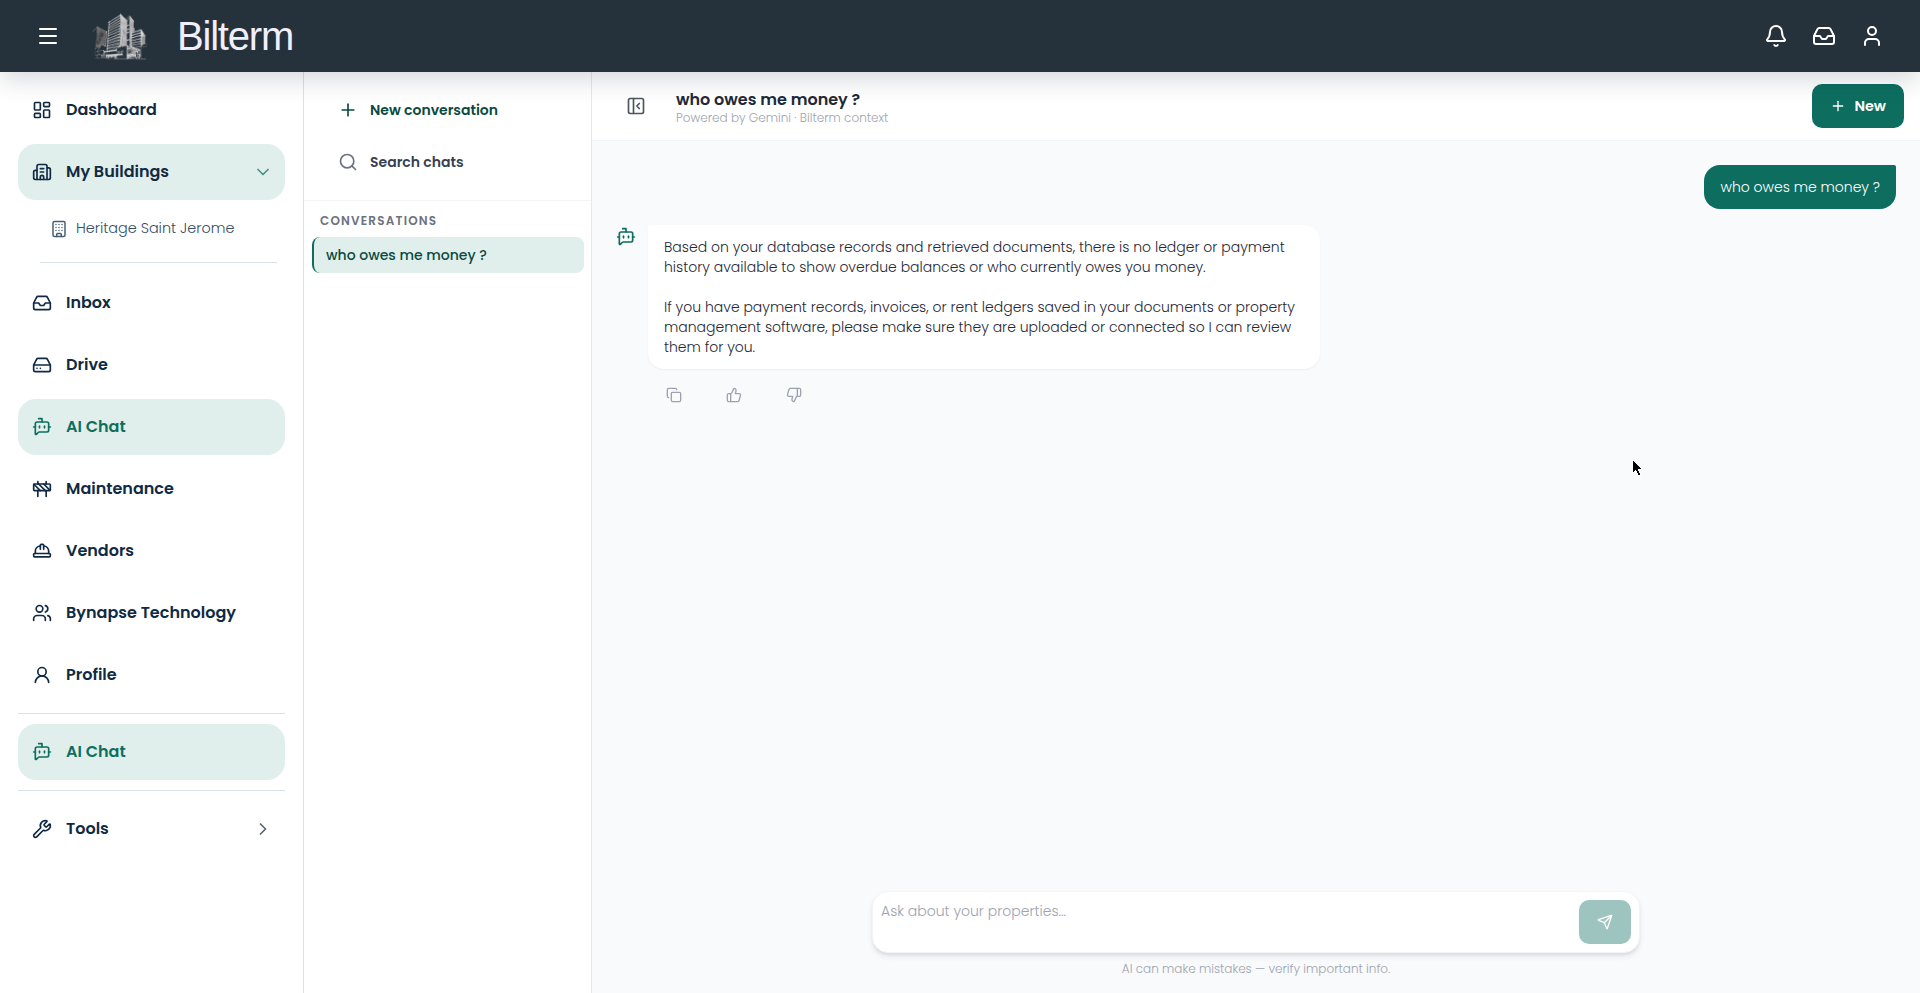
The AI assistant.

Bilterm’s AI assistant is a sidebar copilot that answers from your documents and remembers context across conversations. It’s only useful if you feed it.

  1. Open AI Chat — or click any “Chat with AI” button on a building or portfolio page to start with that context.
  2. Type in the input (“Type a message…”) and ask about your portfolio, your procedures, your documents.
  3. Feed it documents. Paste in lease clauses, building notes, maintenance procedures, property details — anything you currently keep in your head or in a drawer. The assistant chunks and indexes the text into its knowledge base.
  4. Manage threads like a chat app: create new ones per topic, rename them, search them. Titles are generated automatically.
  5. The assistant keeps short-term context within a conversation and builds long-term memory of facts you reinforce — so “the boiler in building X is from 2019” stays known.

What it can and can’t do

  • It answers from the documents and notes you provide, plus the conversation at hand.
  • It does not read your rent ledger. “Who owes me money?” is a question for the Rent tab, not the chat.
  • AI answers can be wrong. Verify anything with legal or financial consequences against the source document.

Tips

  • The highest-value first upload: your standard lease clauses and your building notes (boiler age, roof year, quirks per unit). That’s the knowledge you get asked about most.
  • One thread per topic. A thread called “Boiler issues — 85 Rue de Montigny” is retrievable; a 200-message mega-thread is not.

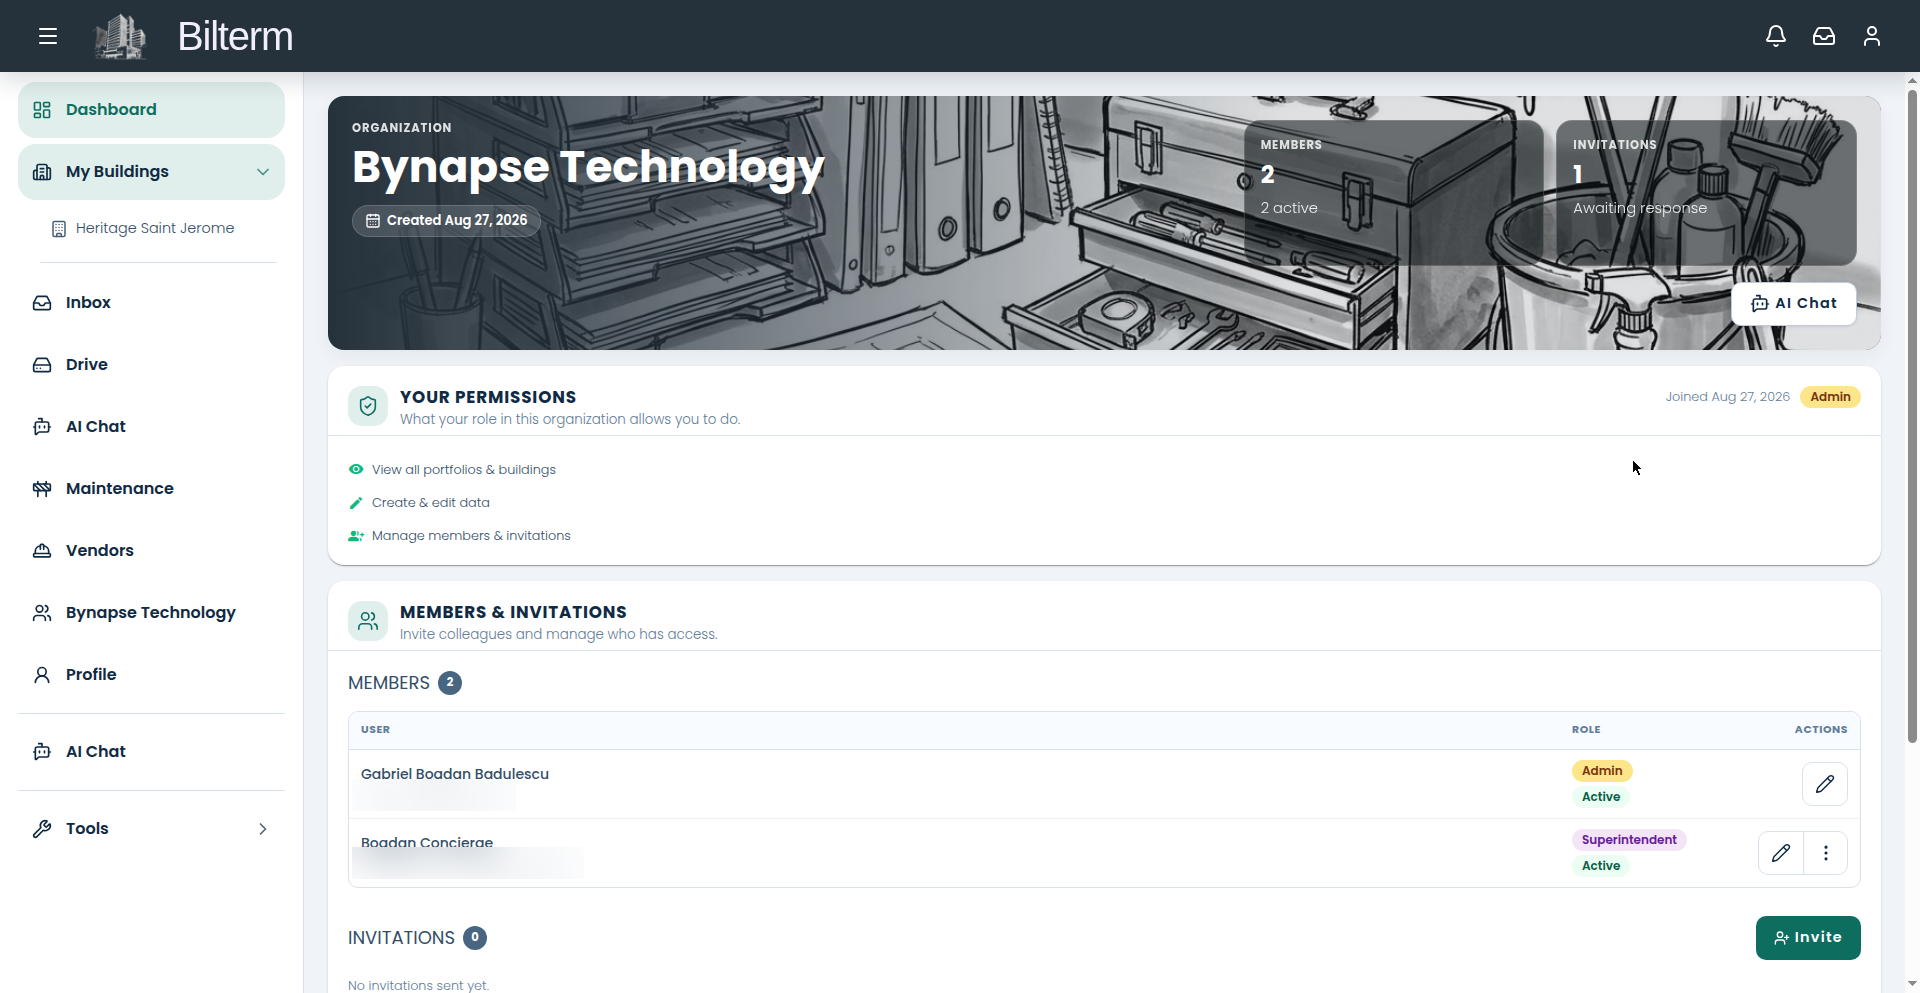
Invite your team and set roles

Team page screenshot with member and tenant email addresses blurred out

Bilterm works solo, but the moment you bring on a superintendent, a partner, or a bookkeeper, you want roles — not everyone needs to see everything.

  1. Go to Team. The page shows member stats, your own permissions, the members table, and tenant invitations.
  2. Click Invite (Invite Team Member).
  3. Enter the Email (required) and choose the Role (required, defaults to Viewer). Add a Phone (optional) if you want the invitation notification by SMS — include the country code.
  4. The five roles: Admin (everything, including members and org settings), Manager (write access to data), Superintendent and Janitor (building-scoped, read-only), Viewer (read-only). Admin and Manager can write; the other three can’t change data.
  5. For superintendents and janitors, scope the assignment to specific buildings for a dated period — e.g. this building, from June to September. Assignment history is preserved, and you can attach their contract file to the membership.
  6. They get an email invitation with a link to join. Track pending invitations on the Team page.

Tips

  • Default to the least access that gets the job done. A janitor needs their buildings, not your rent ledger.
  • Tenant invitations live in the separate Tenants section of the Team page — don’t confuse them with team members. Tenants get portal access, not team roles.
  • The organization can’t be deleted while members remain — remove everyone first. That’s a safeguard, not a bug.

Model a renovation with the value-add calculator

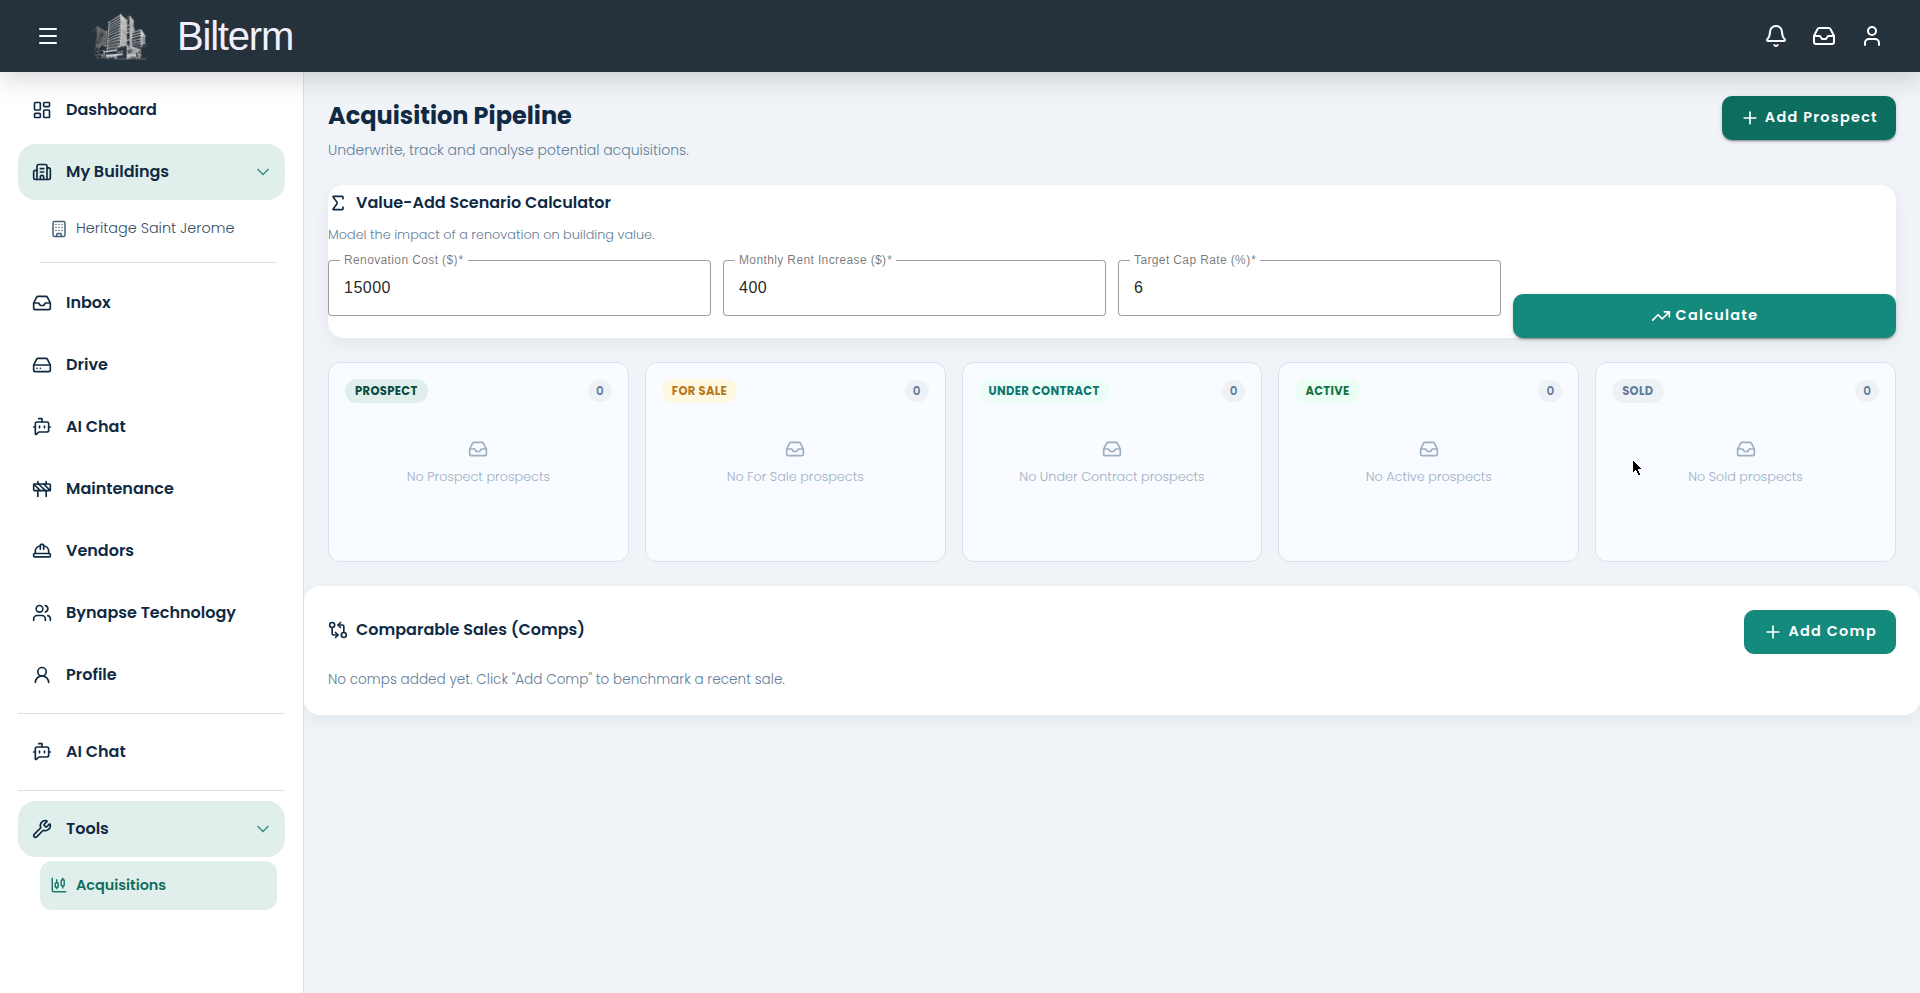
Acquisition pipeline and value-add calculator.

“Should I renovate this unit?” The Value-Add Scenario Calculator turns that gut feeling into a number: what a rent increase is worth at your target cap rate.

  1. Go to Tools → Acquisitions and find the Value-Add Scenario Calculator (“Model the impact of a renovation on building value”).
  2. Enter the Renovation Cost ($) — e.g. 15000.
  3. Enter the Monthly Rent Increase ($) the renovation should support — e.g. 400.
  4. Enter your Target Cap Rate (%) — e.g. 6.
  5. Click Calculate. The calculator shows the value the renovation creates at that cap rate, so you can compare it directly against the cost.

How to read the result

The math is simple: extra annual rent divided by the cap rate equals added value. $400 more per month is $4,800 a year; at a 6% cap rate that’s $80,000 of value created for a $15,000 spend. The calculator does this comparison for you — if the value created comfortably exceeds the cost, the renovation earns its keep.

Tips

  • Run the calculator before you call the contractor, not after the work is done. It’s a decision tool, not a justification tool.
  • Test pessimistic numbers too: half the rent increase, a higher cap rate. If the project still works, it’s a good project.
  • Pair this with the prospect pro-forma: underwrite the building as-is, then model the renovated version as the upside case.

Underwrite a deal: prospect pipeline and pro-forma

Acquisition pipeline and value-add calculator.

Bilterm treats acquisitions with the same structure as operations. Prospects move through a pipeline — Prospect, For Sale, Under Contract, Active, Sold — and each one gets a one-click pro-forma.

  1. Go to Tools → Acquisitions. The pipeline columns start empty: Prospect, For Sale, Under Contract, Active, Sold.
  2. Click Add Prospect.
  3. Fill in the required fields: Property Name, Address, Asking Price ($), Gross Annual Rent ($), Operating Expenses / yr ($), Annual Debt Service ($), and Total Cash Invested ($) — “Down payment + closing + reno costs.” Set Status (starts at Prospect) and add Notes. Save stays disabled until the required fields are filled.
  4. The prospect now shows a live pro-forma preview: NOI, Cap Rate, GRM, and DSCR — computed server-side from your numbers.
  5. Move the prospect across the pipeline as the deal progresses. A prospect that becomes your building keeps its history.
  6. Benchmark it: under Comparable Sales (Comps), click Add Comp and enter Address / Description, Sale Price ($), Gross Annual Rent ($), Sale Date, and a Source URL.

Tips

  • Be honest on operating expenses. The pro-forma is only as good as the numbers you feed it — use the seller’s actuals, then add 10% for the surprises.
  • The Total Cash Invested field is where most back-of-napkin math goes wrong. Include closing costs and the renovation budget, not just the down payment.
  • Keep dead deals in the pipeline as Sold or archived rather than deleting them. A year from now, “we passed at $X because the DSCR was 0.9” is valuable history.

Organize files in Drive and share them

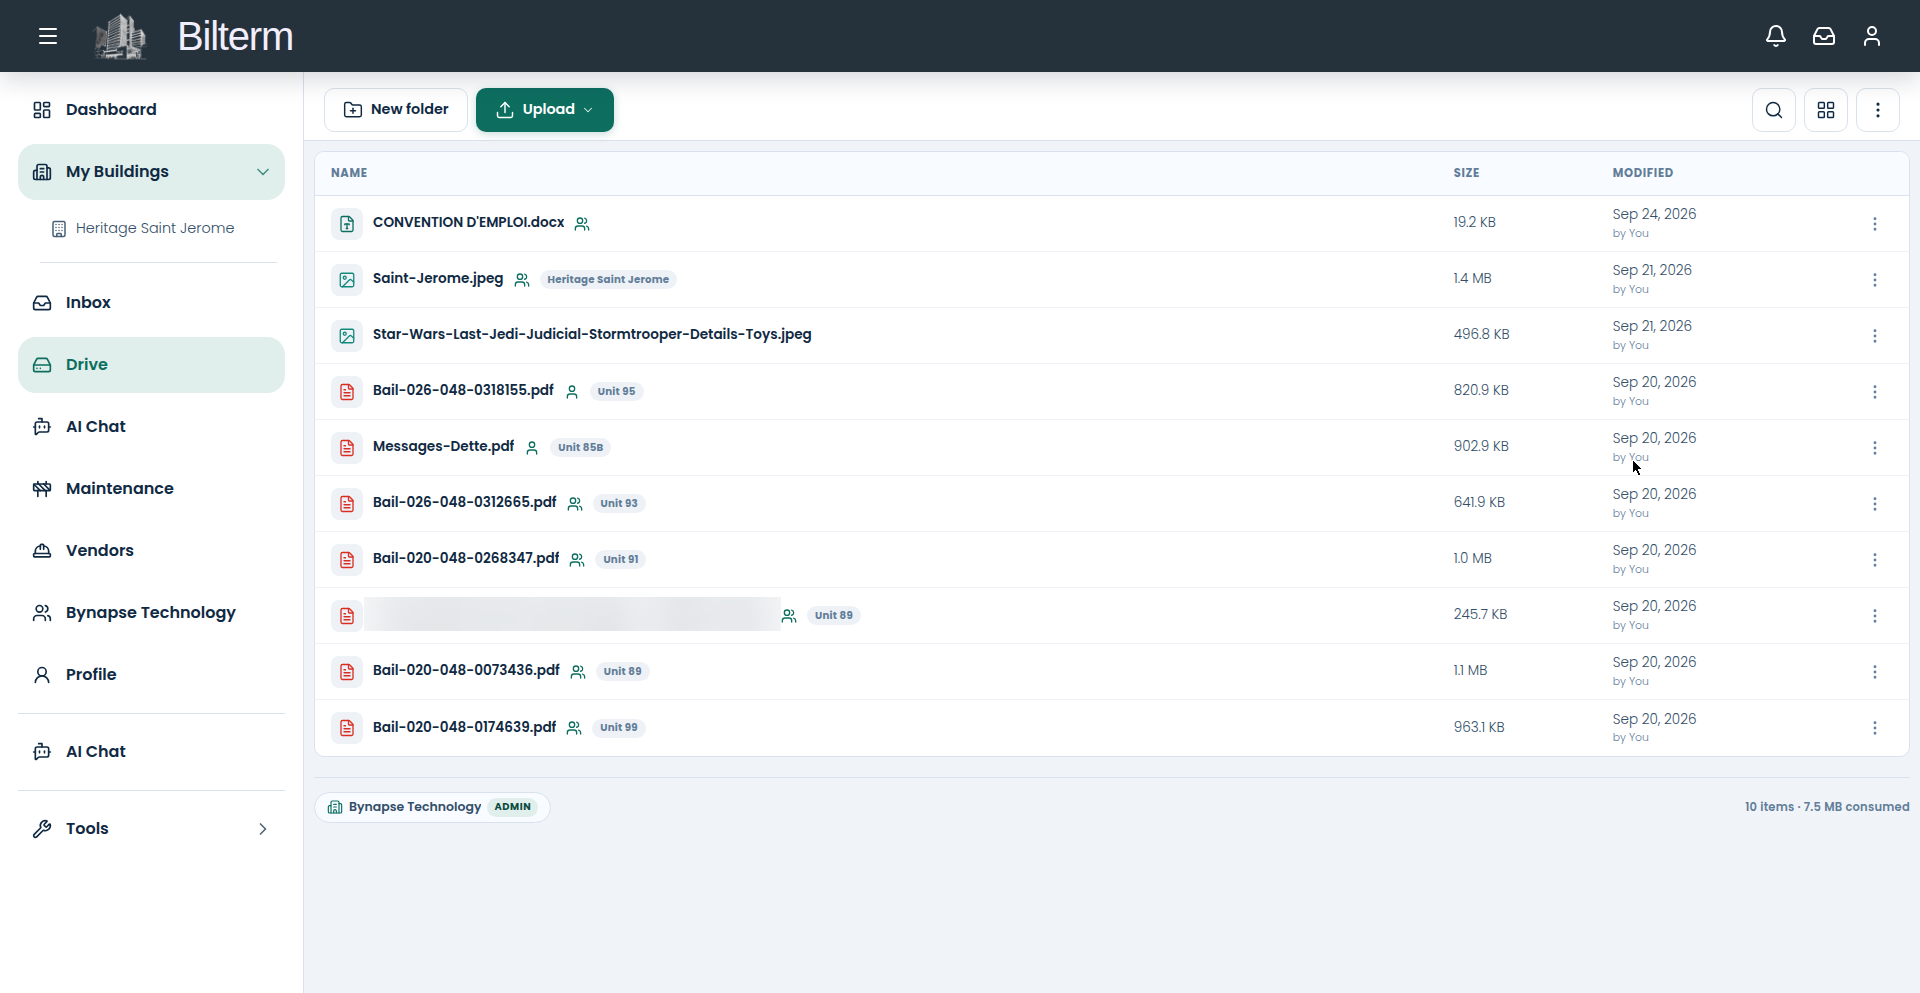
Drive file manager screenshot with tenant email addresses blurred out

Drive is Bilterm’s file manager: leases, insurance certificates, invoices, floor plans, photos — organized by building, unit, lease, and tenant instead of dumped in one folder.

  1. Open Drive. The toolbar gives you New folder, Upload (with a dropdown), Search files, view toggle (grid/list), and the sections and storage menu.
  2. Follow the physical folder tree: Buildings → Units → Leases → Tenants. A lease PDF belongs under its unit; the building’s insurance certificate belongs at the building level.
  3. Upload with the dropzone or the Upload button. Files show their size and date; the header shows how much storage you’ve used.
  4. Tag files by category — lease, invoice, insurance, contract, floor-plan, photo, report, other — and add tags so search actually finds things.
  5. Share per file: open the file’s 3-dot menu and share it with a tenant, a team member, or a vendor. Everything is private to your organization until you share it.
  6. You don’t have to live in Drive: the building detail page has its own Files & Photos section with Add file, and records like superintendent contracts have an attach-file control built in.

Tips

  • Name files like you’ll search for them: “Bail-85A-2026-2027.pdf” beats “scan_final2.pdf.”
  • Share the signed lease with the tenant at signing time — then stop emailing leases entirely.
  • Keep two file areas straight: team files (visible to your organization) and personal files (yours alone). The building insurance goes in team files; your private notes stay personal.

Use the unified inbox (email, SMS, WhatsApp, Messenger)

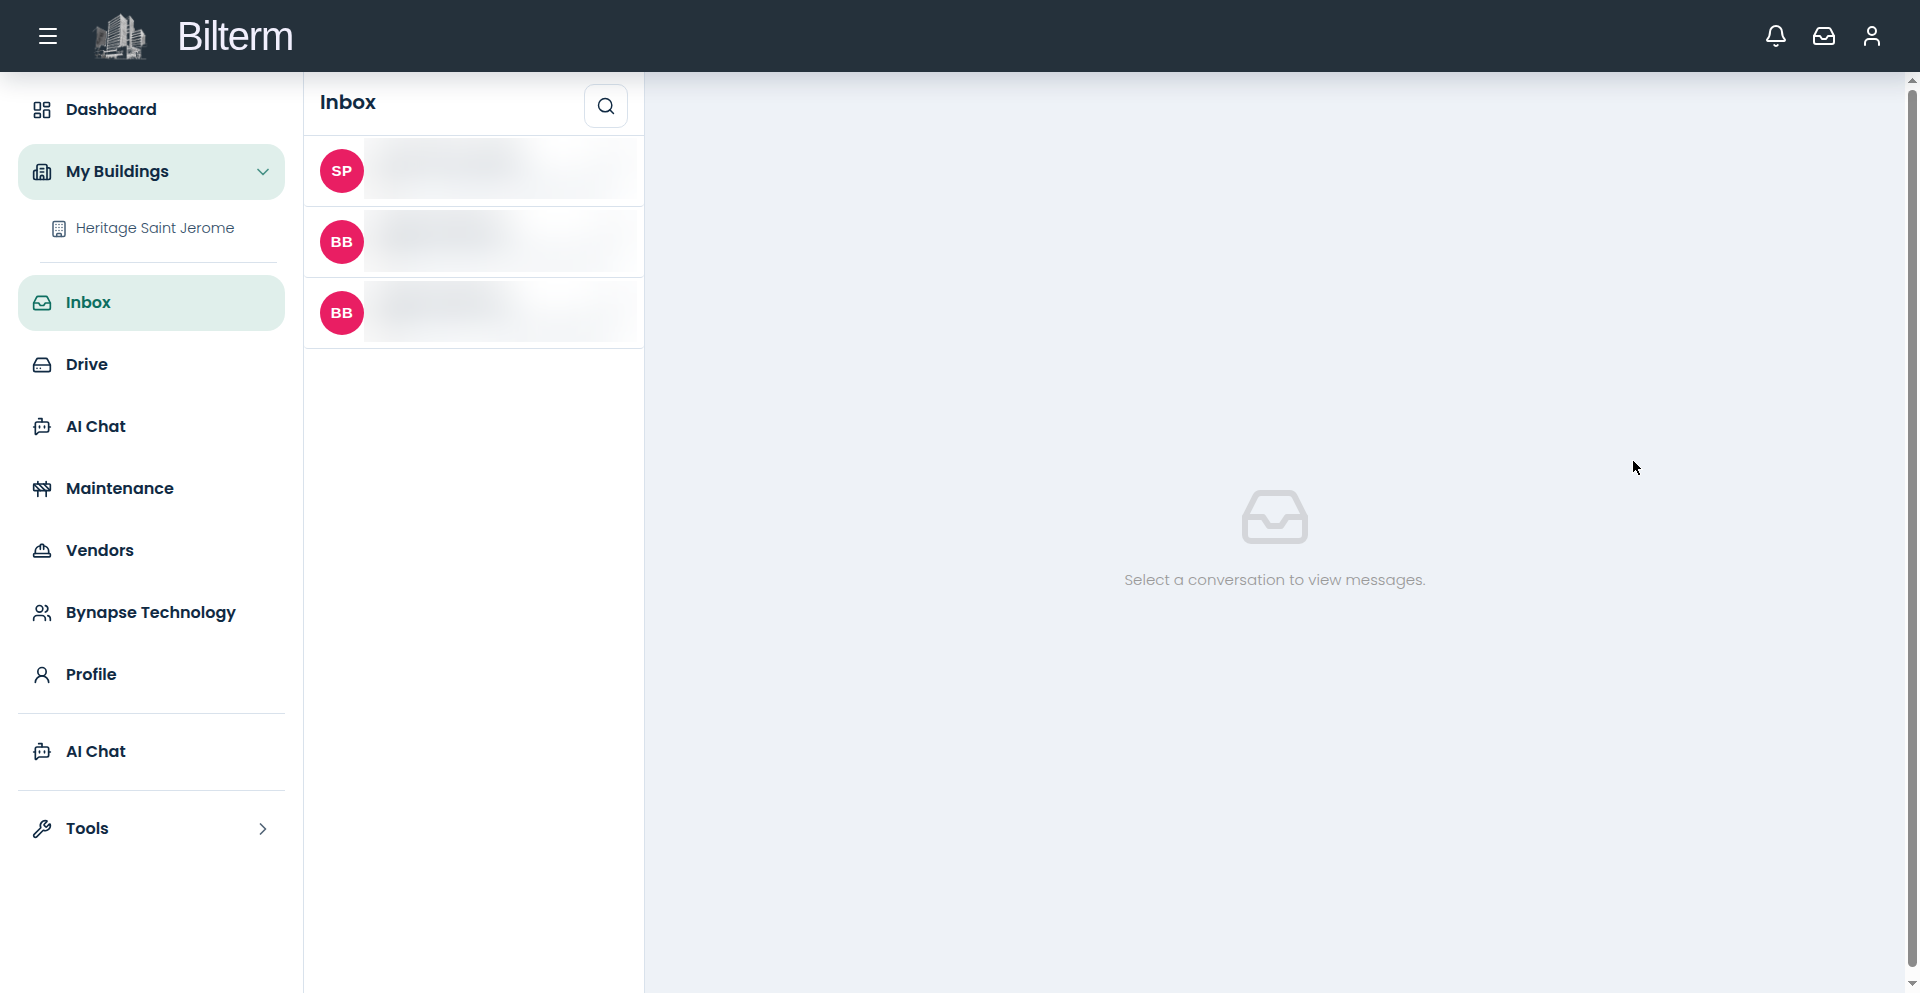
Unified inbox screenshot with tenant email addresses blurred out

Tenant conversations live everywhere: email for the formal stuff, SMS for the quick stuff, WhatsApp and Messenger because that’s where people actually reply. The Inbox puts all four in one thread list.

  1. Open Inbox. Conversations are on the left; click one to read it — “Select a conversation to view messages in main.”
  2. Unread counts show on each thread. Work top-down, oldest unread first.
  3. Reply right in the thread. Your reply goes back out through the channel the message came in on — a WhatsApp message gets a WhatsApp reply.
  4. Use internal notes for the stuff the tenant should never see: “Tenant claims the noise is the upstairs unit — check with 85B before responding.”
  5. Email attachments land on the thread. Save the important ones to Drive rather than leaving them buried in a conversation.

Tips

  • The inbox is also where maintenance photos arrive. When a tenant sends “here is the photo you asked for,” it’s already attached to the thread — reference it when you create the maintenance request.
  • Internal notes are your institutional memory. Six months from now, “we agreed to repaint in spring” as a note beats your memory of the conversation.
  • Message threads update live. If you’re coordinating a repair with a superintendent in real time, you don’t need to refresh.

Add a vendor; record invoices and payments

The vendor directory.

Plumbers, electricians, snow removal, the handyman who does everything — they all live in Fournisseurs, with their invoices and your payments tracked against them.

  1. Go to Fournisseurs and click Add vendor (or “Add the first vendor” if the list is empty).
  2. Under Business: enter the Business name.
  3. Under Primary Contact: First name and Last name (required), plus Email and Phone.
  4. Under Entreprise: Licence/permit number, Tax ID / business registration, and Internal notes — the stuff you’d otherwise keep in your head (“only available Tuesdays”, “bring exact change”).
  5. Save. The vendor gets a detail page with their contact info, categories, and history.
  6. When the bill arrives, record a vendor invoice on the vendor record. When you pay it, record a vendor payment. The Vendors dashboard tracks Unpaid Invoices, Pending Approvals, and Spend YTD across all vendors.

Tips

  • Fill in the licence and tax ID when you add the vendor, not at tax time. You’ll need them for your accountant anyway.
  • The On-Time Completion metric only means something once projects have due dates — set them on the project, and the vendor scorecard builds itself.
  • Vendors get a limited portal of their own. Share project documents and photos with them through Drive rather than texting PDFs back and forth.

Group work into projects and assign vendors

The vendor directory.

A dripping tap is a request. A bathroom renovation is a project. Projects bundle the work, the vendor, the agreed amount, and the due date in one place.

  1. Go to Entretien and click New project.
  2. Under The Work: describe What is the work (required), the Agreed amount, and the Due date.
  3. Under Who and Where: choose Who is doing the work — pick the vendor (add them first in Vendors if they’re new). Status starts as Planned. Tie the project to a Building, and to a Unit — or leave it as Whole building. Add Notes.
  4. Save. The project gets its own detail page tracking the work, the vendor, and the money.
  5. Watch the Maintenance metrics: Active Projects (in progress vs. planned), Owed (unpaid amounts), and Spend for the year.

Tips

  • Set the agreed amount before work starts, even if it’s a rough number. “We’ll figure it out” is how a $800 job becomes a $2,400 argument.
  • Assign the vendor at creation, not after. An unassigned project is a wish; an assigned one is a commitment with a name on it.
  • Close out finished projects with proof-of-work photos on the record. When you sell the building, the project history is the renovation story a buyer wants to see.